Safari Photography for Beginners: Simple Camera Gear & Safari Photography Tips
Away With Wonder contains affiliate links. This means that if you chose to make a purchase via one of the links I’ve provided, I may earn as small commission at no additional cost to you. See my Disclosure Policy for more information.
I’m not a professional photographer — not even close. But when I decided to go on an African safari, I wanted a simple safari photography setup that made sense as a beginner. I didn’t want to spend thousands of dollars on gear or lug around heavy equipment. I just wanted to take decent photos and actually enjoy the experience.
So many safari photography guides are written for professionals, filled with technical jargon and expensive recommendations. All I really wanted were realistic safari photography tips, an honest idea of how much zoom I’d need, and reassurance that beginner camera gear could still do a decent job.
If you’re new to photography and planning your first safari, this guide shares exactly what worked for me and the kind of safari photography tips for beginners I wish I’d seen more of before my trip.
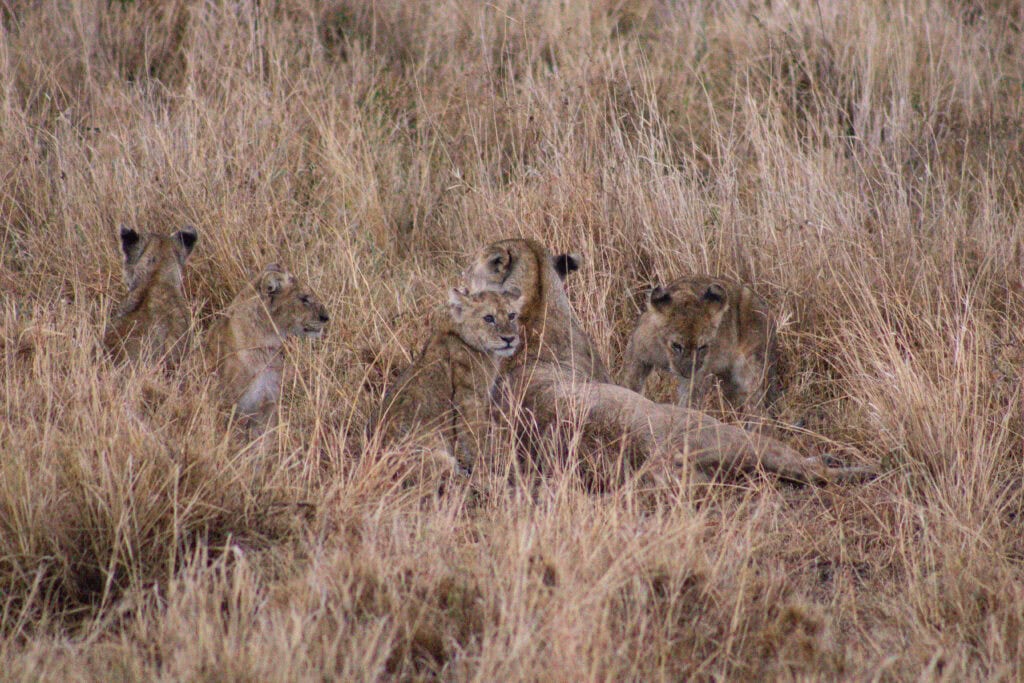
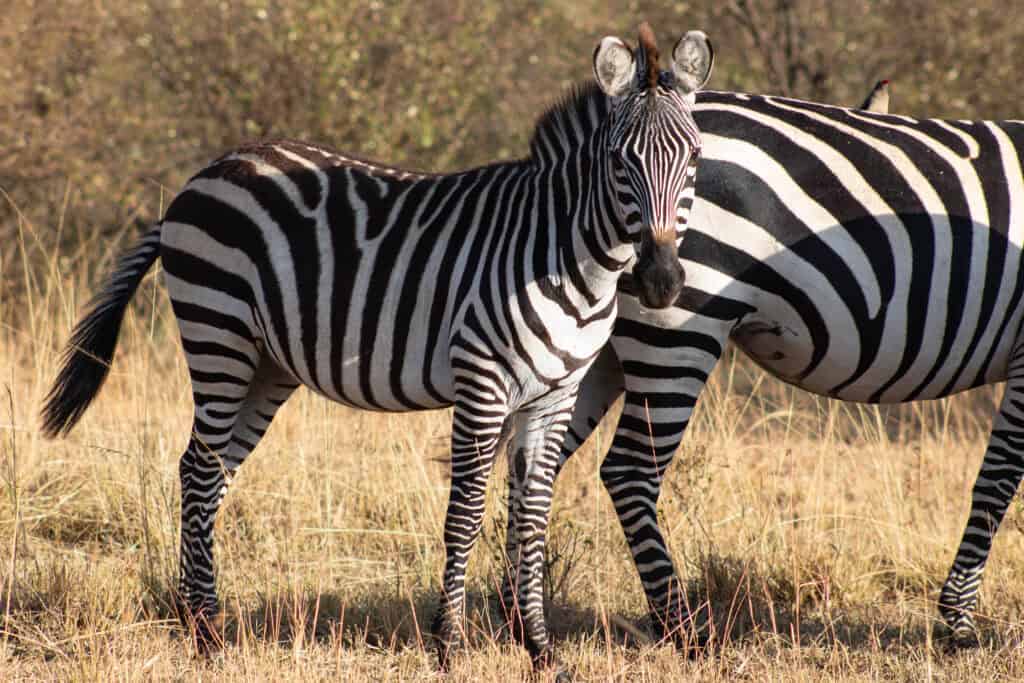
Table of Contents

Where I Went on Safari (and why it matters for photography)
My safari tour took me through some of East Africa’s most iconic wildlife regions:
- Maasai Mara, Kenya
- Serengeti National Park, Tanzania
- Ngorongoro Conservation Area, Tanzania
These landscapes are vast and open, which means animals aren’t always close. Sometimes wildlife is so far away you can barely see it with the naked eye — something that’s important to understand when choosing a camera and lens for your safari photography.

What I photographed (and why zoom matters)
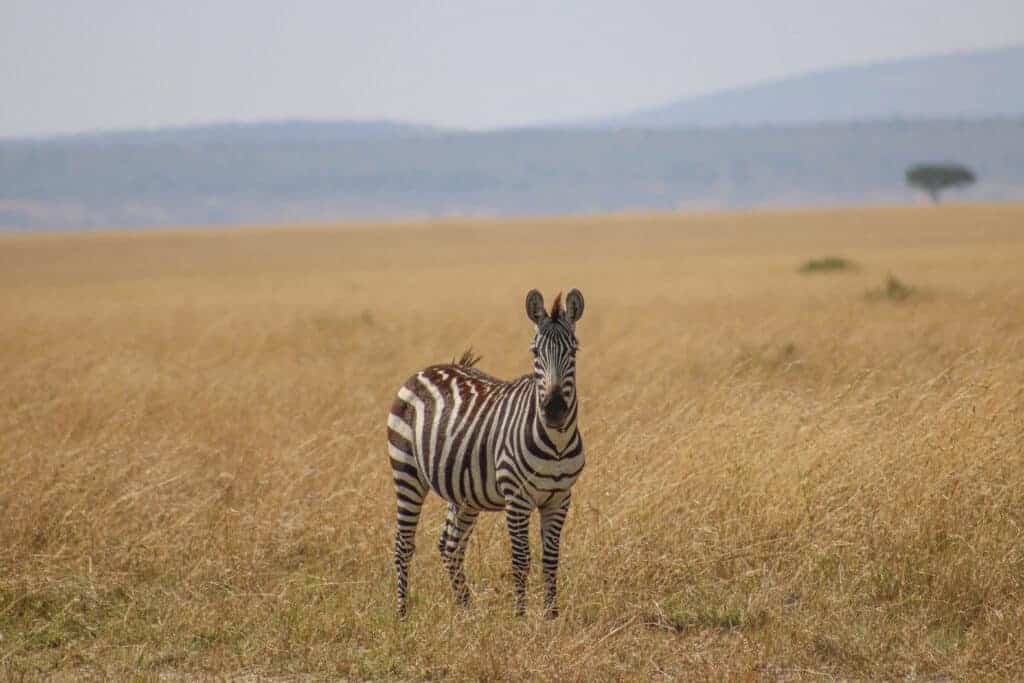
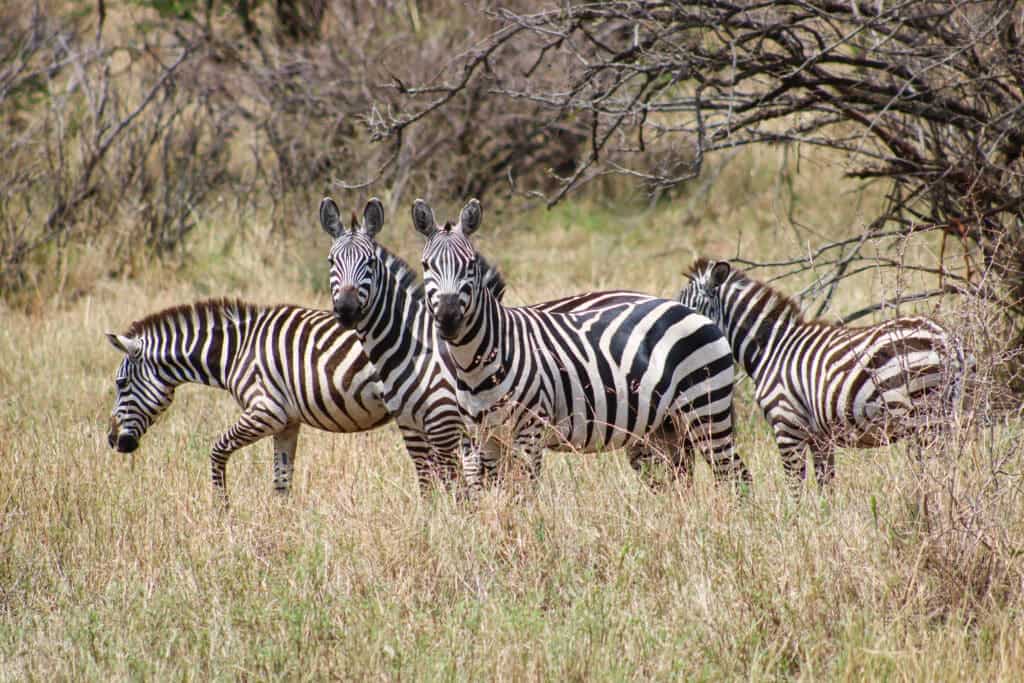
The first animal I saw on safari was a zebra, and I was SO excited. I remember thinking, I’m actually here. It felt surreal — like my brain hadn’t quite caught up with where I was and what my eyes were seeing yet. That moment alone made the entire trip feel worth it.
On safari, I photographed:
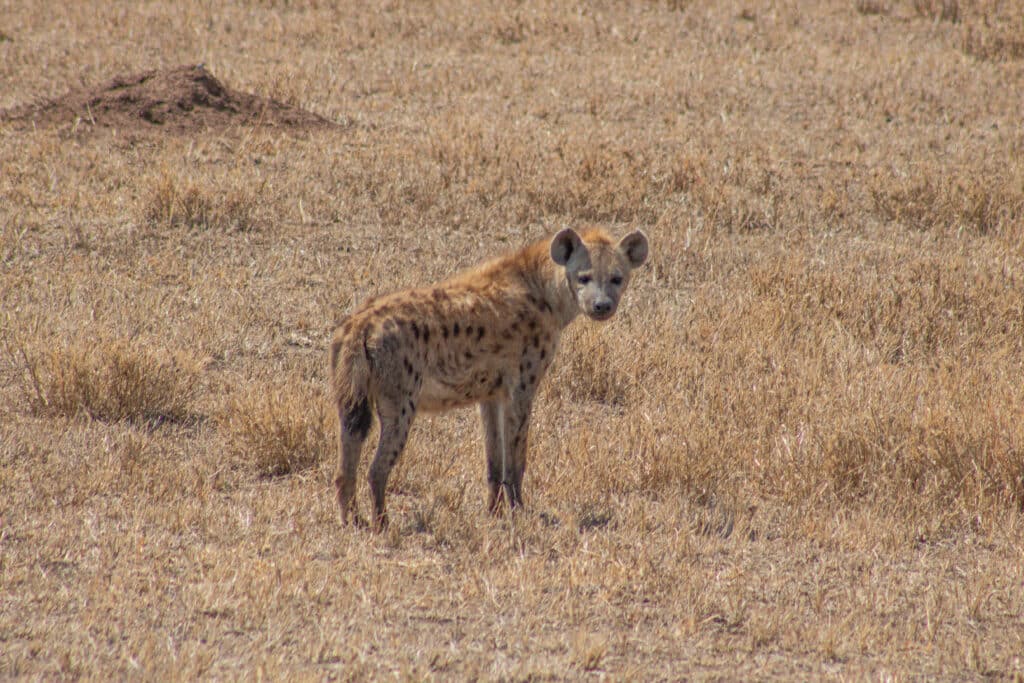
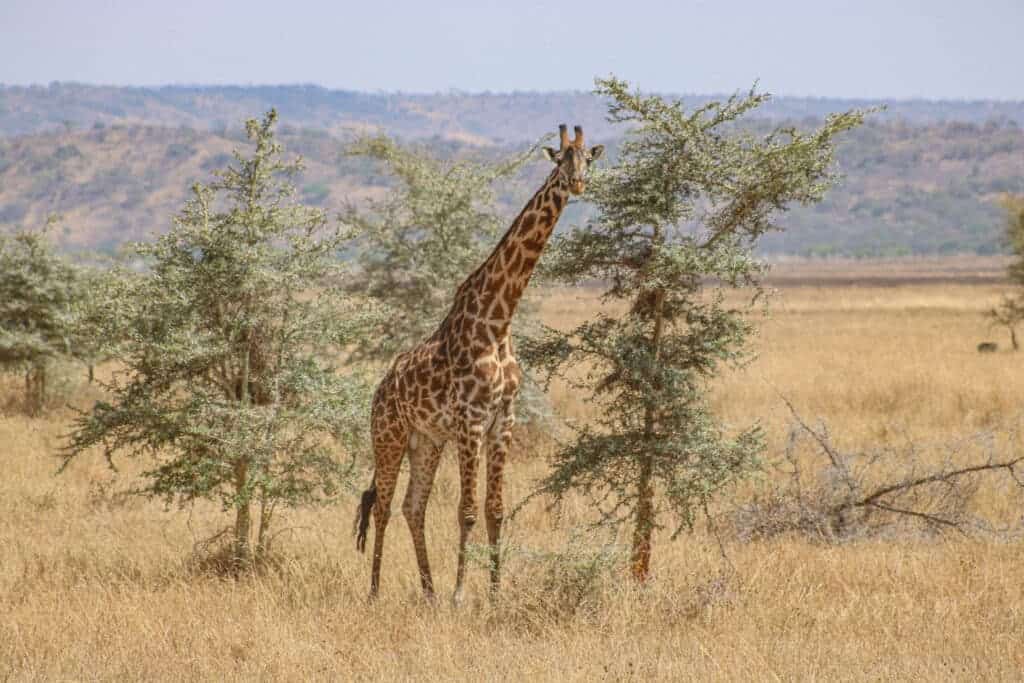
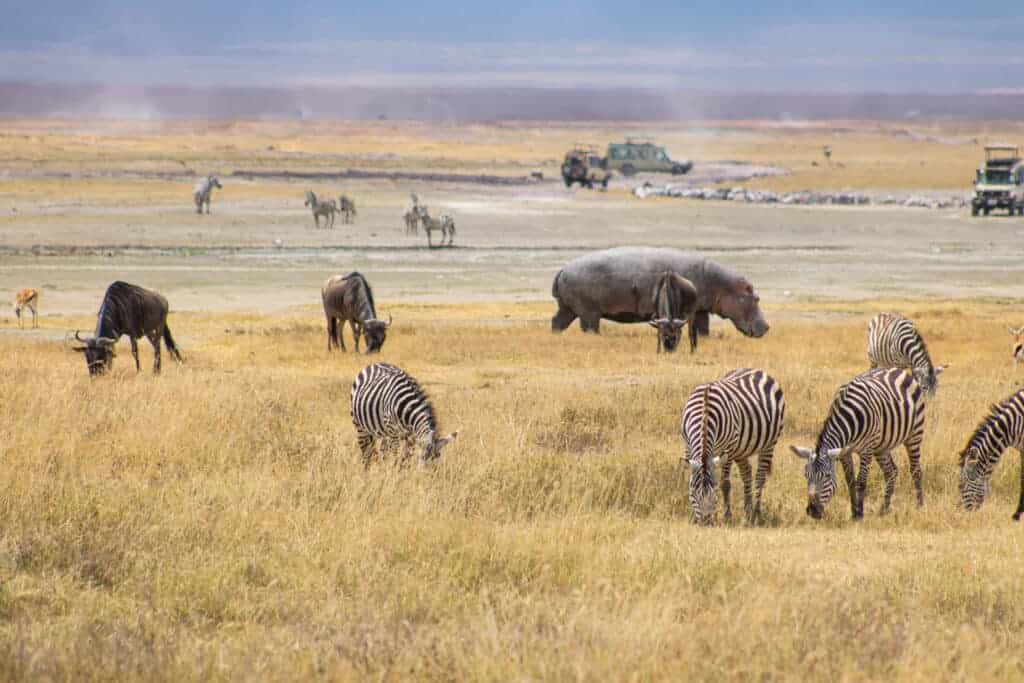
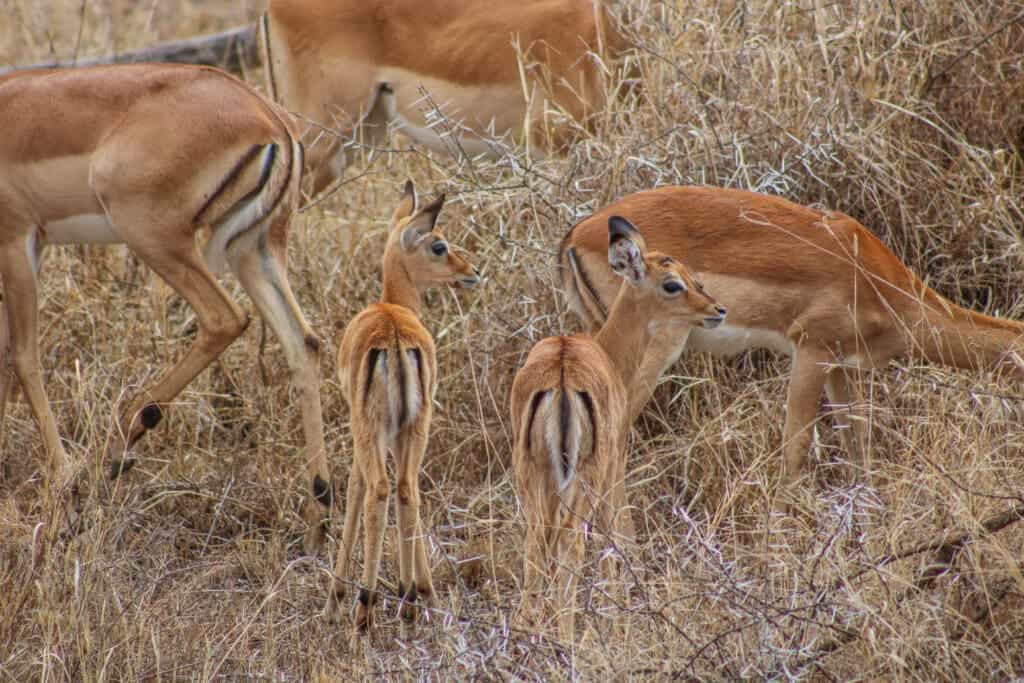
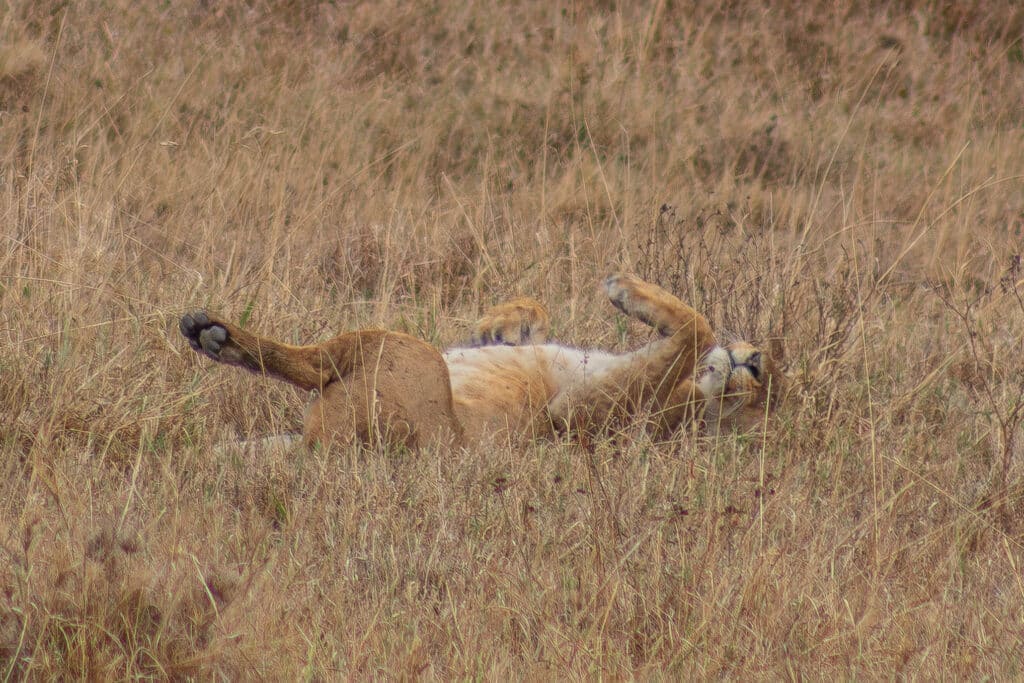
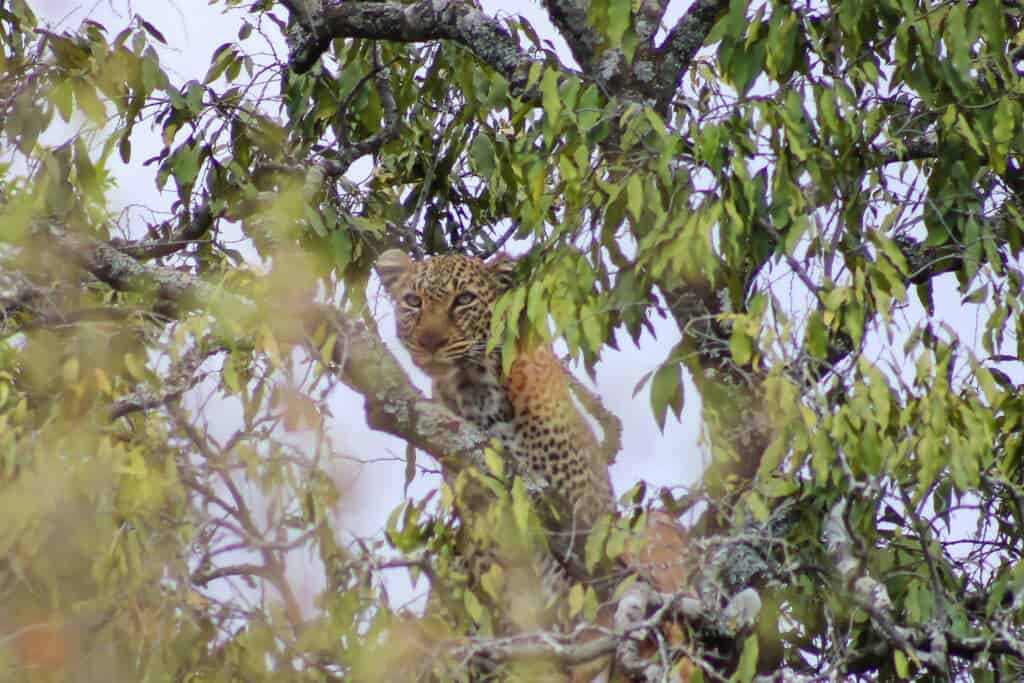
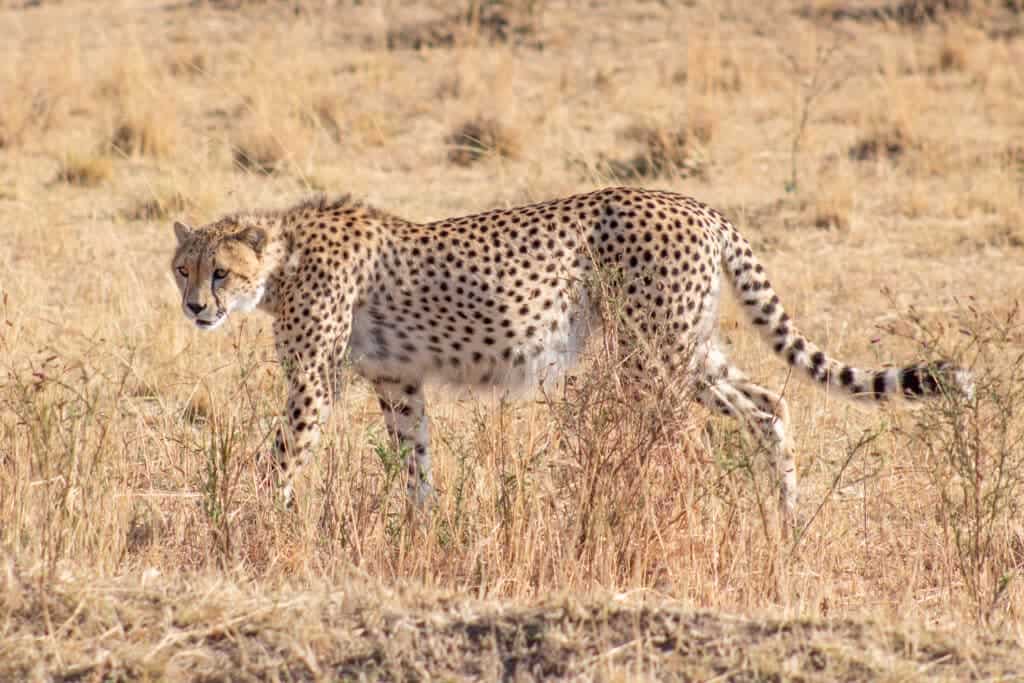
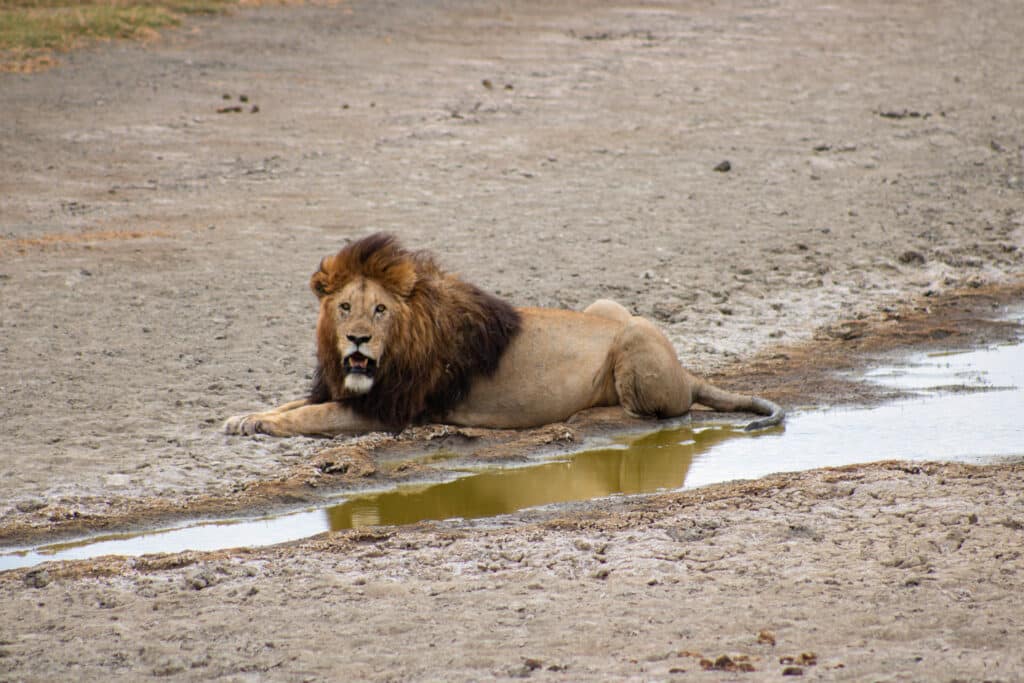
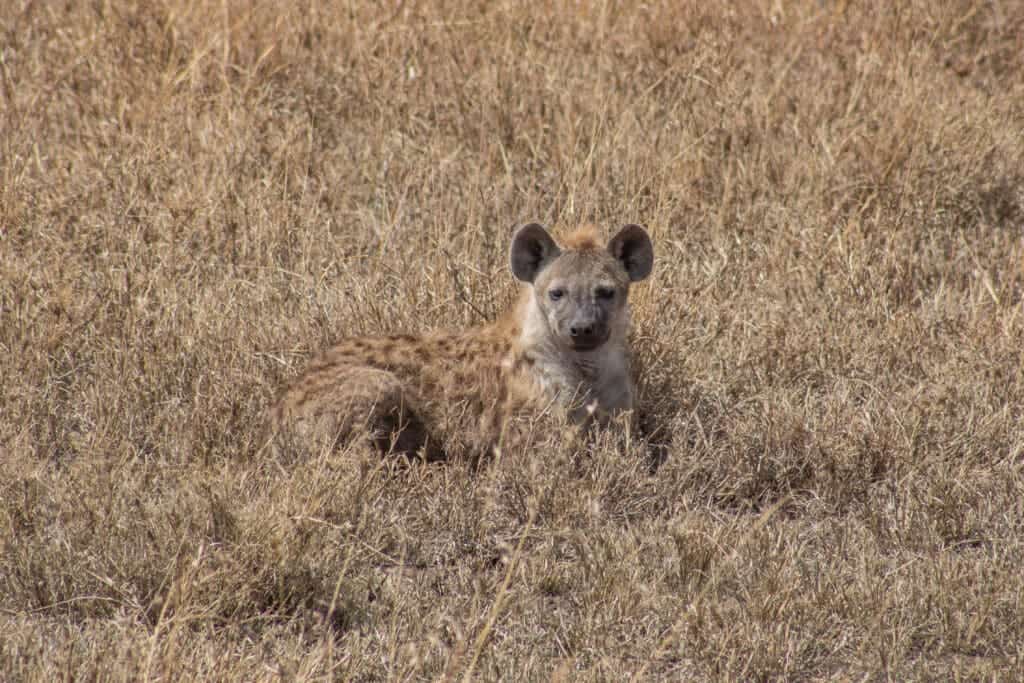
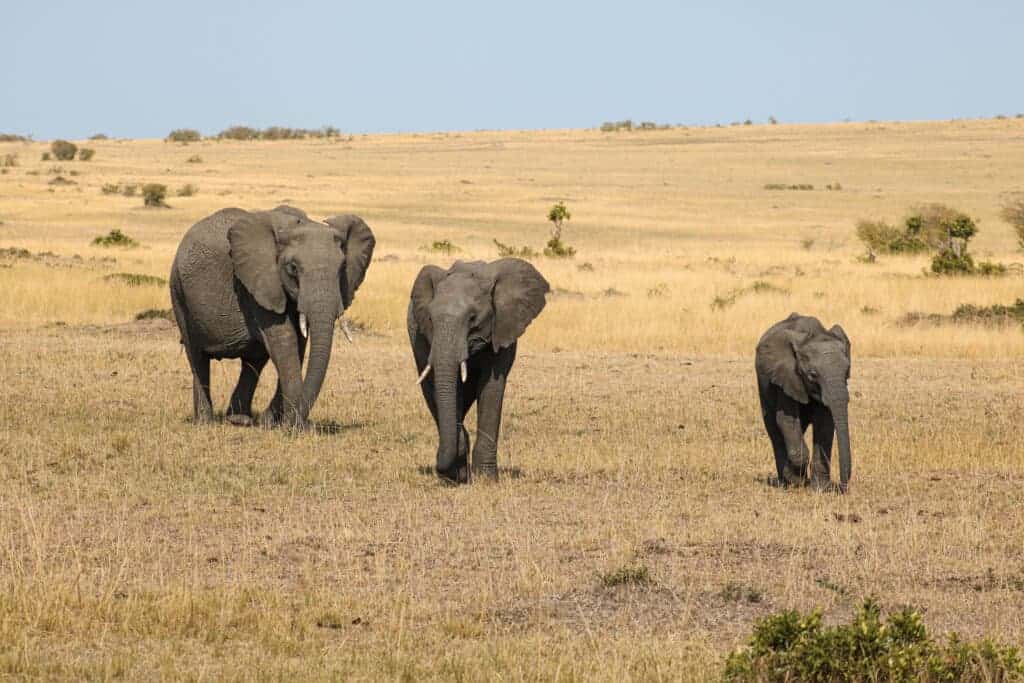
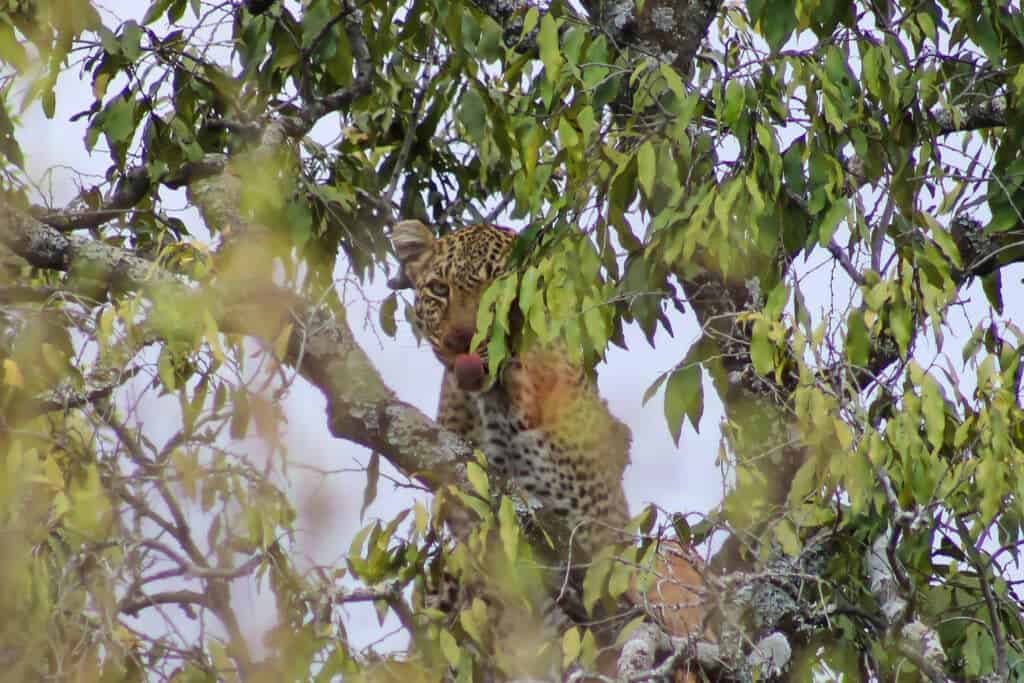
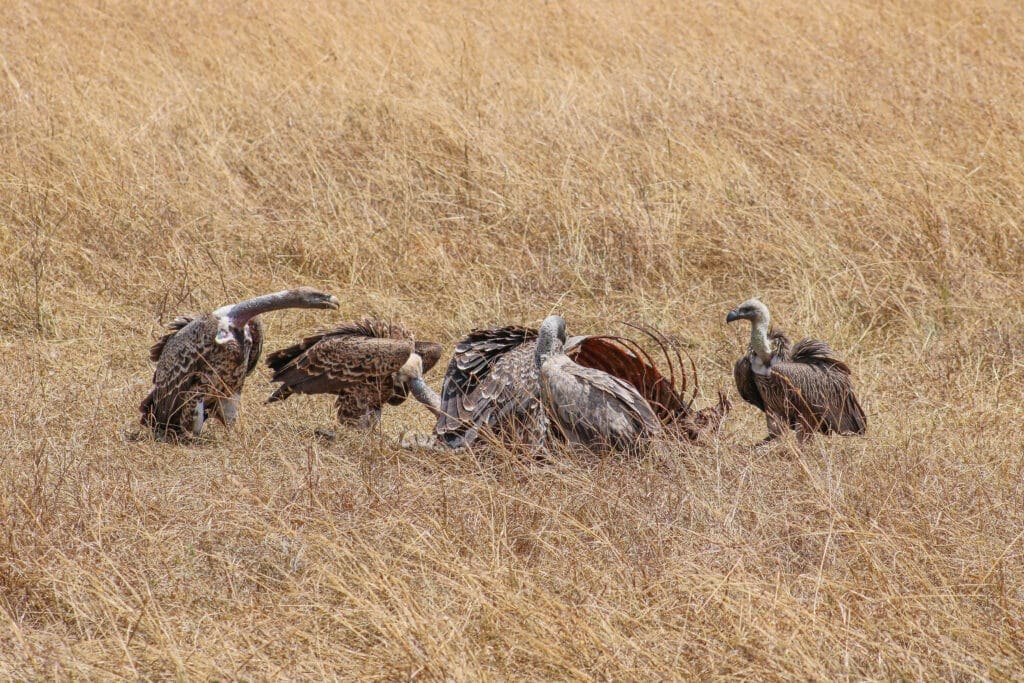
- The “Big Five” (Elephant, Water Buffalo, Lion, Leopard and Rhino), as well as Zebras, Cheetahs, Giraffes, Hyenas, Wildebeest, Antelope, and Vultures.
- Wide savannah landscapes
- Wildlife in motion and at a huge range of distances
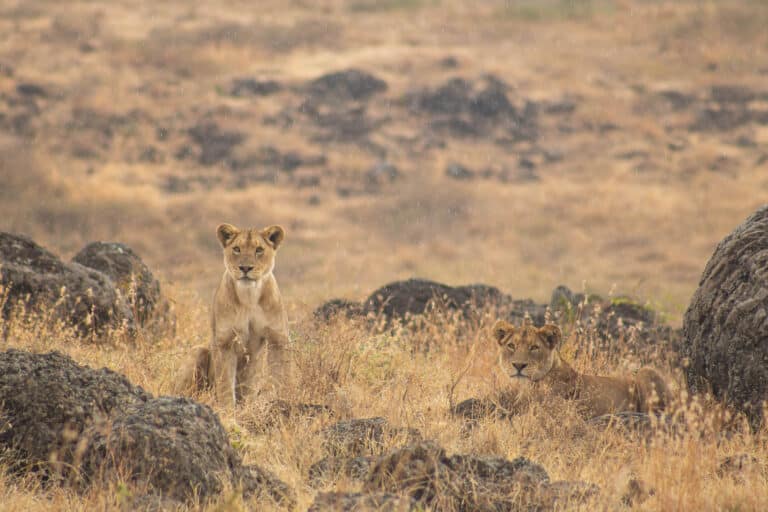
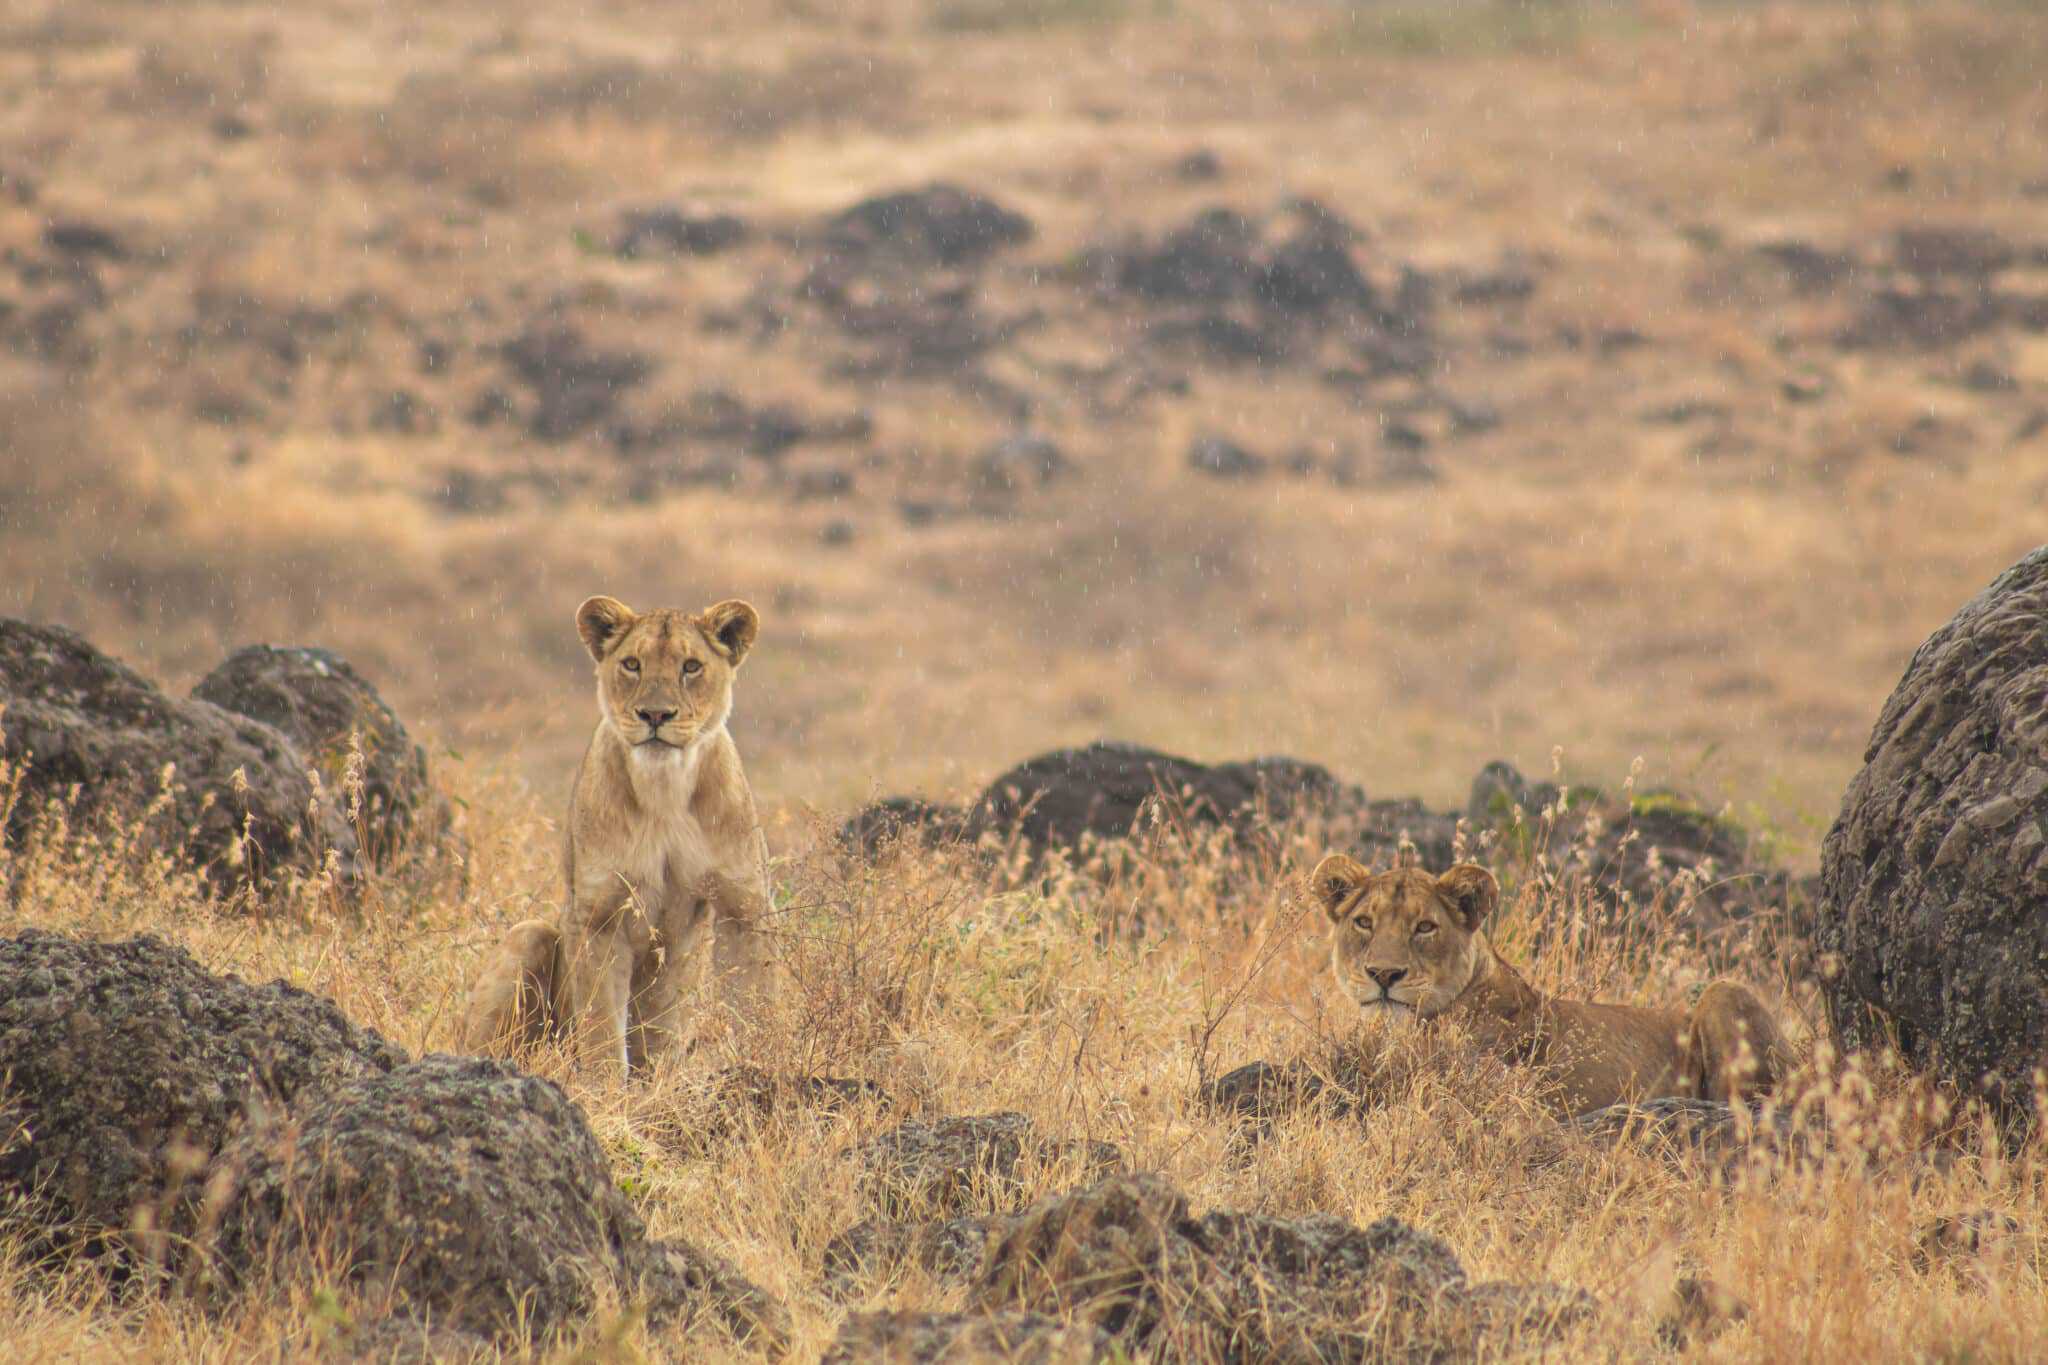
One moment really highlighted how important zoom is for wildlife photography for beginners. In the distance, all we could see was dust in the air — it looked like a herd of something. When I zoomed in through my camera, I realised there were two rhinos charging at each other on the outskirts of the herd.
Without a zoom lens, I would have completely missed what was happening.
My camera setup for safari photography for beginners
Camera body
I used my Canon EOS 750D, which I’ve owned since 2016. It’s been a reliable hobby camera for travel and everyday photography, and it performed really well on safari.
There are newer versions now — the Canon 800D and 850D — but the main takeaway is this: you don’t need the latest camera body to take decent safari photos. If you already own a DSLR or mirrorless camera, it’s likely more than capable.
Lenses I took on safari (& how much zoom is enough zoom?)
Before I went on safari, my biggest worry was not having enough zoom — especially as I didn’t already own a zoom lens and needed to buy one specifically for the trip.
As I started taking photos on our first game drive, I knew I was getting the shots I wanted. Were they perfect — or as close as I might have managed with a bigger, more expensive lens? No. But they were more than good enough for what I hoped to come home with, and all of the photos in this post are examples of what I captured.
I travelled with two lenses:
- Canon EF 75–300mm f/4–5.6 (there’s also a Canon RF-mount version)
- 18–55mm standard kit lens
I knew going into the trip that the 75–300mm lens would be the one I used the most. It doesn’t get great reviews, but as a beginner, I wasn’t ready to invest in high-end wildlife gear. I bought it specifically for safari because it gave me the zoom I knew I’d need, and while it wasn’t perfect, it did exactly what I needed it to do.
The extra reach made a huge difference, especially when animals were far away or difficult to see with the naked eye — just like the moment I mentioned earlier, where we could only see dust in the distance, and it wasn’t until I zoomed in that I realised two rhinos were charging at each other.
The 18–55mm kit lens was mainly used for landscapes, camp shots, and wider scenery, and it was nice to have for those quieter moments outside of game drives.
Stabilisation (Keeping it super simple)
I’ll be honest — I don’t know enough about image stabilisation to pretend otherwise. But before leaving on my trip, I didn’t want to overpack with tripods and all sorts of other gear. But I also didn’t want to get there and feel like I couldn’t properly capture what we were seeing, and really didn’t know what I’d need.
I didn’t consciously adjust stabilisation settings. Instead, I relied on:
- Shutter speed
- The stability of the safari vehicle
- A very low-tech solution
I often rested my camera on the window seals, using my jumper or my trusty white linen scarf (that I take everywhere) to help stabilise the lens. It wasn’t fancy, but it worked surprisingly well and meant I didn’t need to carry extra equipment like a tripod or bean bag.
Camera settings I used
I shot almost entirely in Auto mode, and I’m completely okay admitting that.
As a beginner, I wanted to focus on what I was seeing rather than stressing about camera settings (which I didn’t learn before going on the trip). Auto mode allowed me to enjoy the experience while still coming home with photos I was genuinely happy with.

Being present vs getting the shot
I think finding a balance between taking photos and being present is really important.
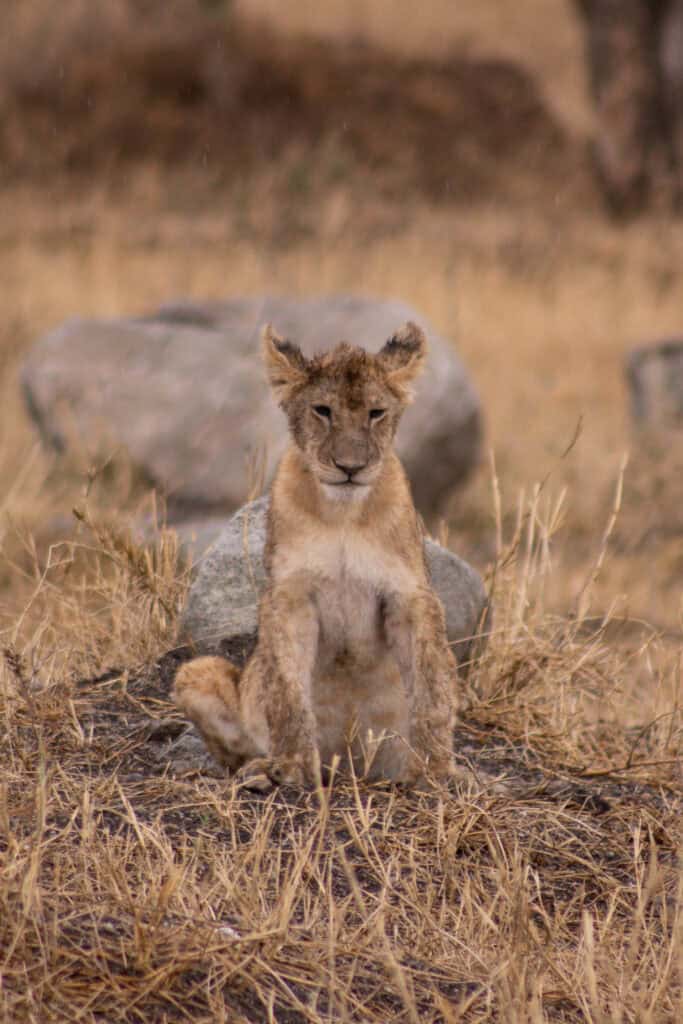
One of my favourite moments on safari didn’t really involve photography. We spent about an hour watching lion cubs play, while their mum — who we’d also seen — was off hunting. I’d already taken plenty of photos, and at some point I realised I just wanted to be present. I put the camera down and simply watched.
The cubs were relaxed and playful, and one cub in particular seemed to take on the role of lookout, pacing around and keeping watch while the others played. It was calm, mesmerising, and one of the moments I remember most clearly.
There was someone on our tour who never put their camera down — constantly stepping in front of others and clearly focused on getting photos. For them, photography was the experience. (And that’s completely fine, our travels and experiences are our own.)
For me, sitting in the moment mattered just as much. I wanted photos to take home, but I also wanted to be present in the moment and watch the wildlife infront of me with my own eyes and not just through a camera lens.
Safari Photography Tips for Beginners
A few simple safari photography tips made a big difference for me:
- Shoot in RAW for more flexibility when editing in Lightroom
- Bring multiple SD cards (I took three)
- Pack at least one spare battery
- Invest in a lens filter/ protector
- Pack lens wipes — there’s A LOT of dust!
- Take more photos than you think you need — wildlife moments don’t last long
If you’re new to safari photography, keeping things simple really helps.
What I’d do differently next time
If I were to go on safari again, I would:
- Take a lens with reach up to 400mm
- Learn my camera settings specifically for safari photography
- Feel more confident adjusting settings on the fly
That said, I don’t regret my setup. It did exactly what I needed it to do as a beginner.
Who this setup is (and isn’t) for
This setup is ideal for:
- Beginners
- Hobby photographers
- Travellers who want great memories, not professional-level shots
- People like me who don’t really know what they’re doing and like to snap and go.
This setup is not for:
- Professional wildlife photographers
- Fast-action specialists
- Anyone chasing razor-sharp images at extreme distances
My final safari photography tip (possibly, the most important)
For me, safari was always about the experience first. I loved taking photos, but every once in a while, I found it important to put the camera down and simply be present. Some moments are better felt than photographed, and those are often the ones that stay with you the longest.
If I had to describe safari in one feeling, I’d say it was the most amazing, grounding experience. I felt calm, present, and strangely at home — like everything slowed down and nothing else mattered for a while.
If you’re a beginner, it’s okay to keep things simple. You don’t need to know everything — you just need to show up and be give it a go.
Need more safari photography tips?
I’ve shared the kind of safari photography tips for beginners I wish I’d seen more of before my trip but I’d love to know if you have any additional questions. Leave them in the comments or send me a message through the contact page.
If you’ve been on a safari trip, is there any safari photography tips for beginners you would share?
Plan your East African Safari with these posts: